Getting started with Voxinly — live in under five minutes
The complete step-by-step walkthrough for new Voxinly customers. From sign-up to a live chatbot answering customer enquiries on your website — in under five minutes thanks to trade presets.

Voxinly was built so a busy tradesman with grease on his hands can get a working chatbot live on a tea break. This guide walks you end-to-end — sign-up through to your first real customer enquiry — with screenshots of every screen so you know exactly what to expect.
Step 1 — Sign up
Create your account
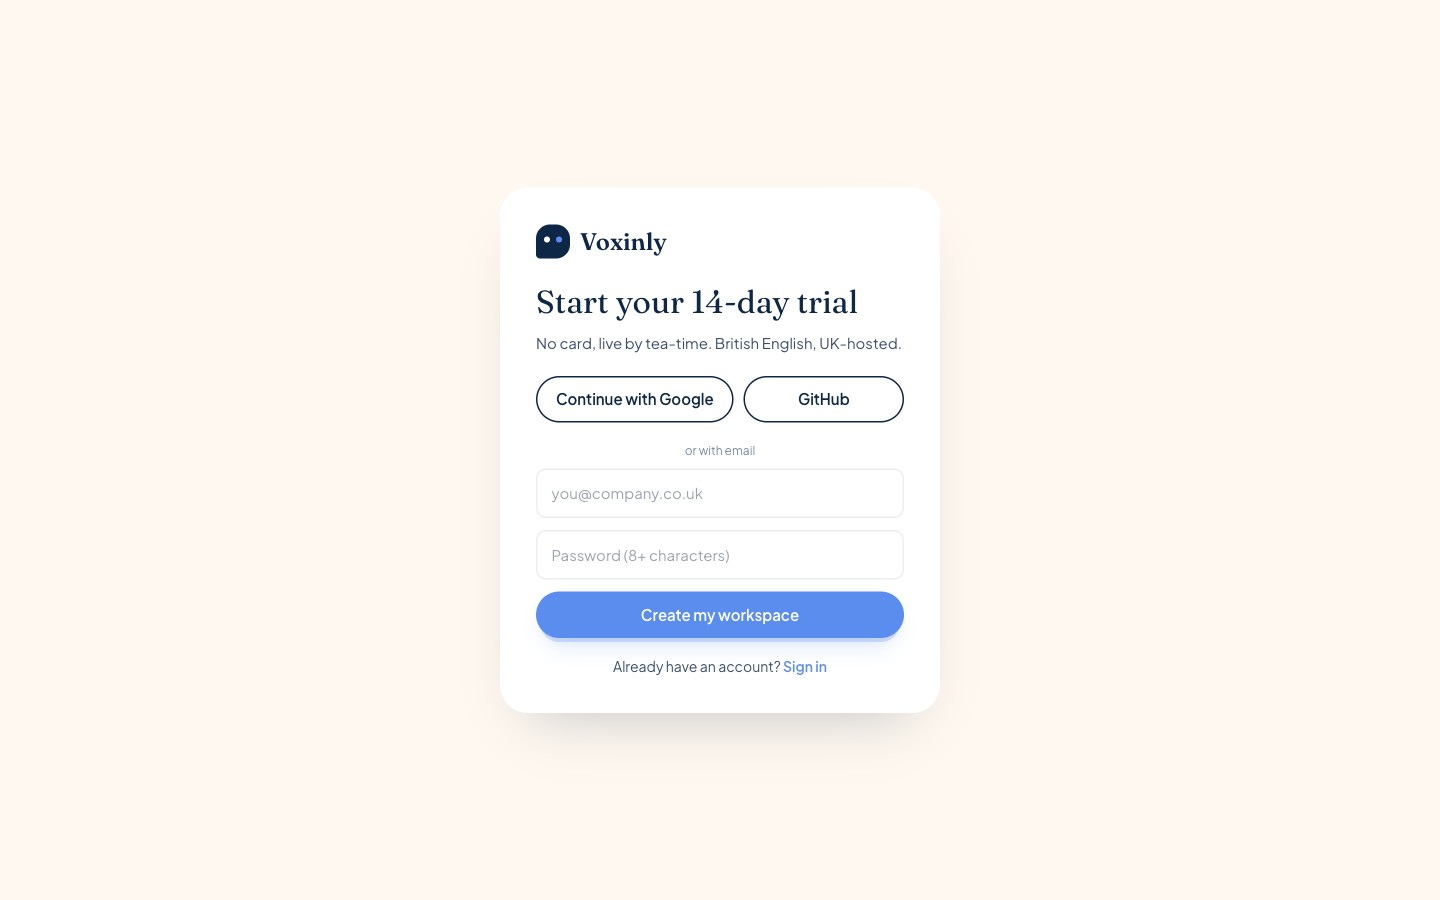
Head to voxinly.com/signup. You can sign up with your email address or your Google account in one click. We do not ask for card details for the 14-day free trial.
Verify your email
If you signed up with email rather than Google, you'll get a confirmation link in your inbox within seconds. Click it. You'll land back on Voxinly, logged in and ready to onboard.
Step 2 — The 3-step onboarding wizard
After sign-up, Voxinly drops you into a short three-step wizard. There's no skipping it because each piece of information is what your customers will actually see and hear when they chat to you.
Brand name
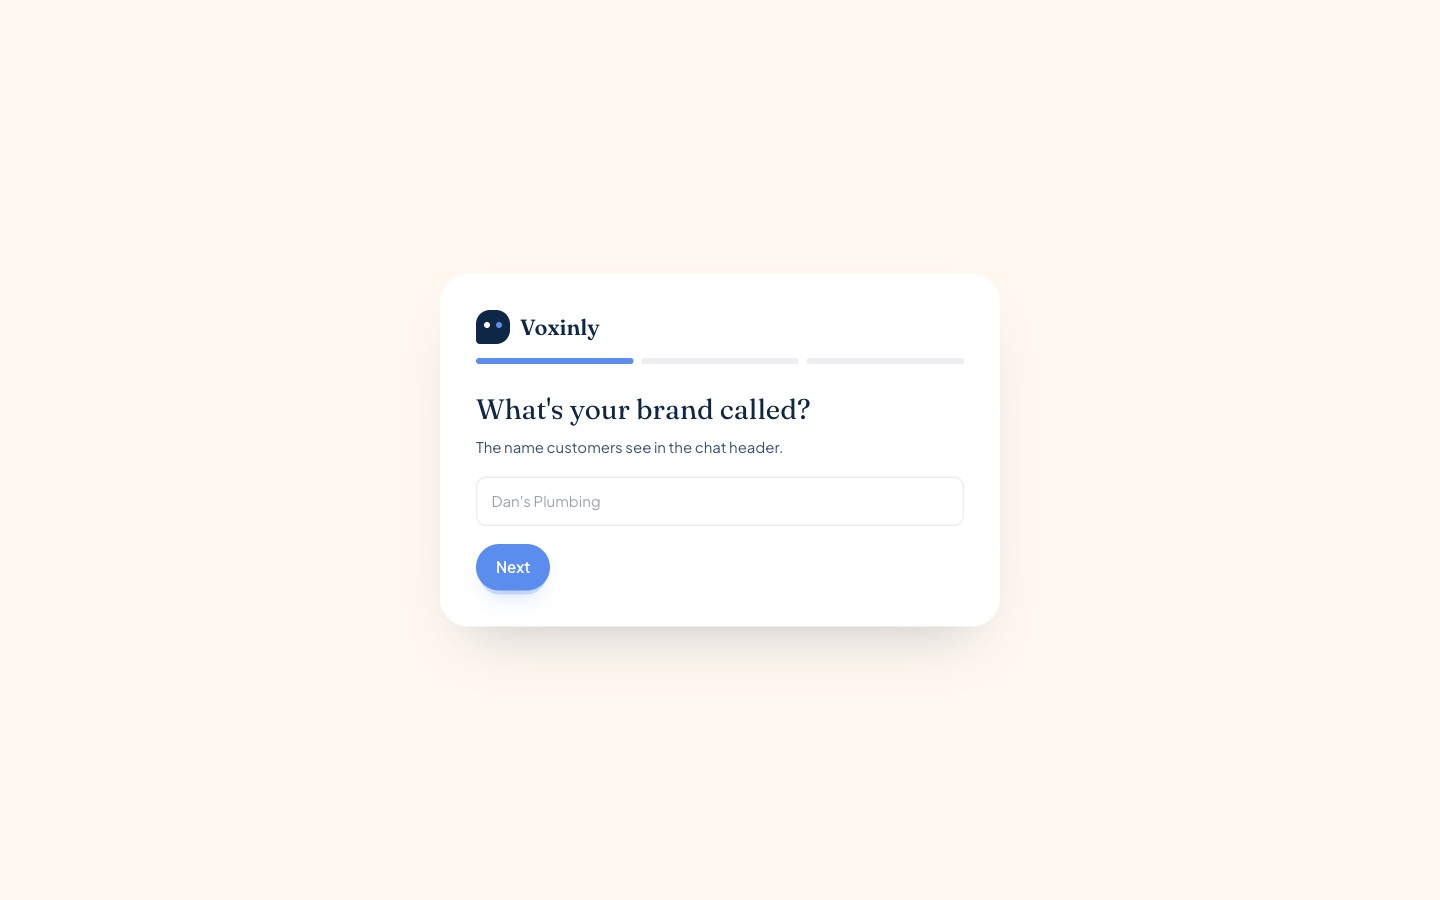
Type the name your customers know you by — Dan's Plumbing, Apex Roofing, whatever's on your van. This is the name that appears in the chat header, in the email alerts when a hot lead comes in, and in your dashboard.
Pick your brand colour
Use the colour picker to match your van livery, your logo, or your website. The chat button on your site, the header inside the chat panel, and the send-message button all use this colour. If you don't know your hex code, the closest match by eye is usually fine.
Paste in your starter knowledge
This is the most important step. In the big text box, type or paste everything Voxinly needs to know to answer customer questions on your behalf: who you are, what trades you cover, your service area, opening hours, ballpark prices, the kind of jobs you take and don't take, your phone and WhatsApp numbers. Two or three paragraphs is plenty to start. You can always add more later.
Step 3 — Your admin dashboard
Finish the wizard and you land in your admin dashboard. This is your control panel from now on. The left sidebar has everything: chatbot configuration, knowledge base, conversations, customers, analytics, embed code, and account settings.
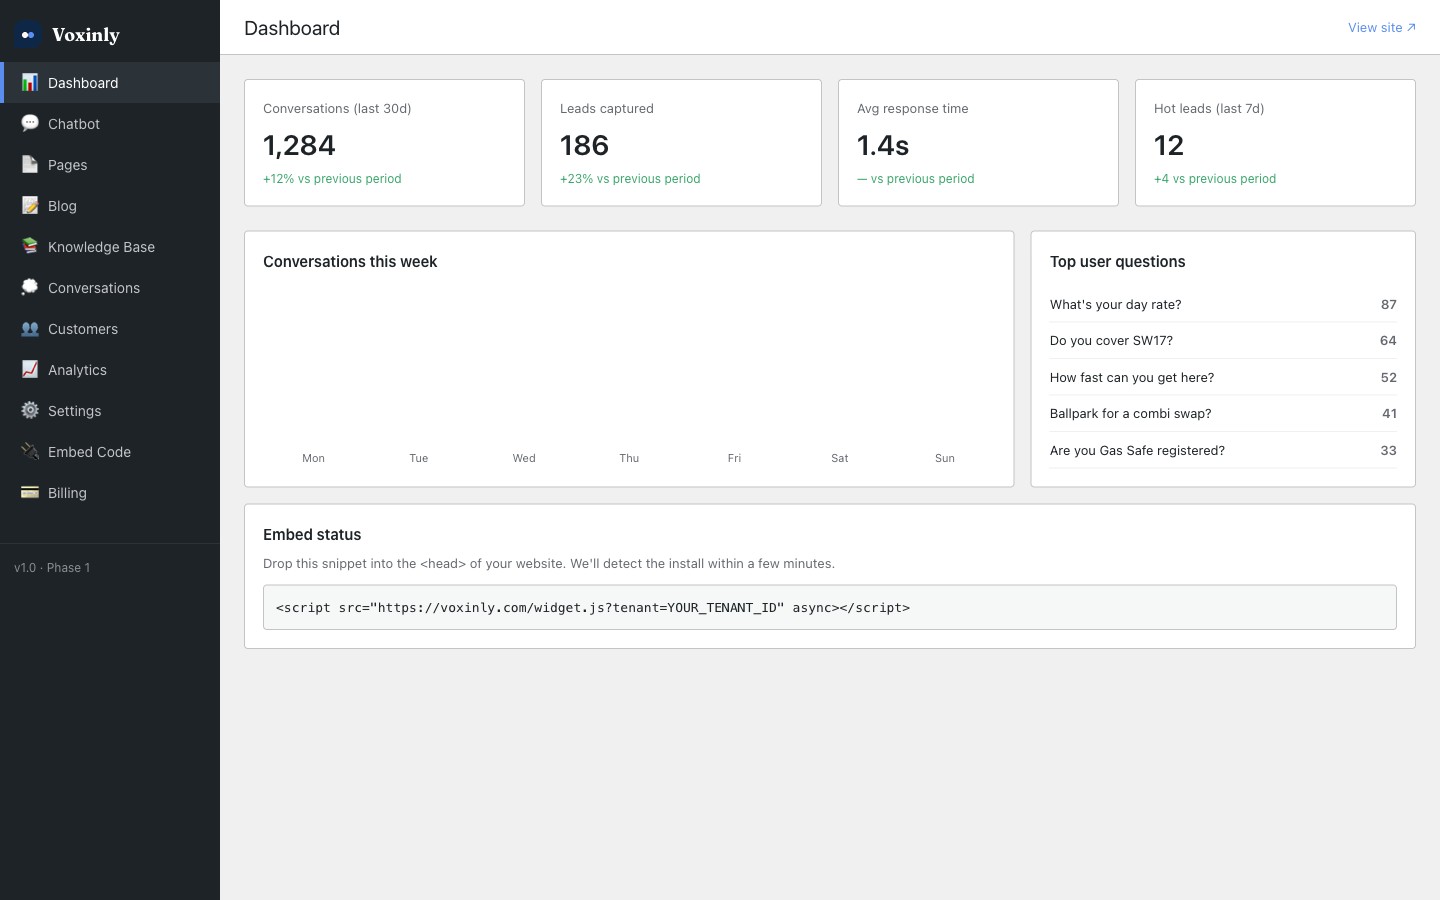
Have a poke around. Nothing is destructive — you can't break anything by clicking. The two places you'll spend most of your time are Knowledge (where you teach Voxinly about your business) and Conversations (where you read every chat your visitors have had).
Step 4 — Get your embed snippet
Open /admin/embed
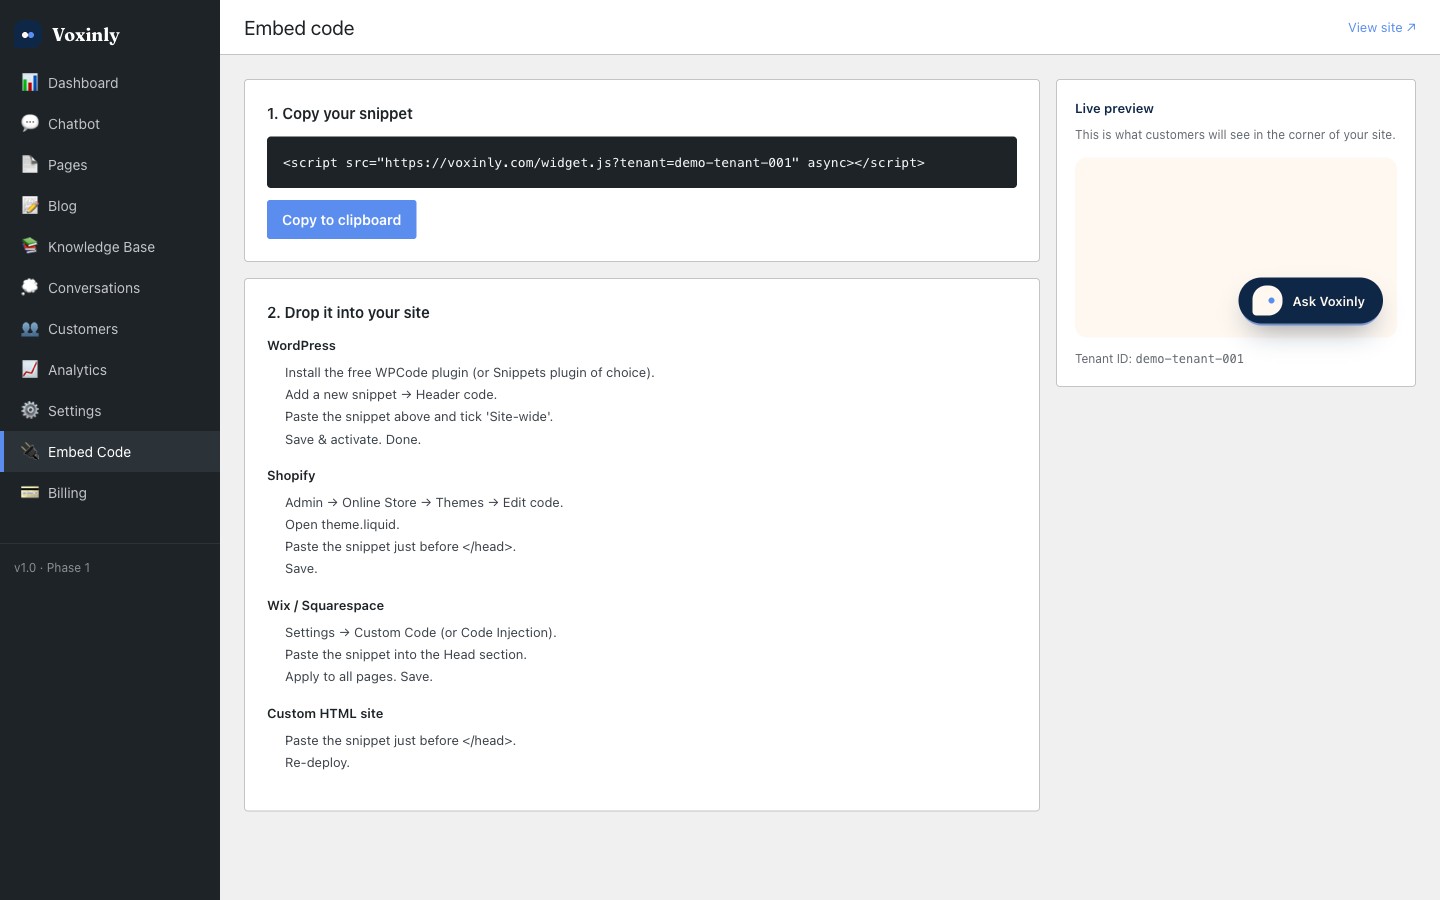
Click 'Embed code' in the sidebar (or go to voxinly.com/admin/embed). You'll see a one-line script tag, pre-configured for your tenant. That single line is all you need to put your chatbot on any website.
Copy the snippet
Click 'Copy to clipboard'. The button confirms with a tick. Your script tag is now ready to paste.
Step 5 — Add it to your website
How you add the snippet depends on what your website is built with. The same embed page walks you through the four most common platforms, but the principle is identical everywhere — paste the script tag inside the <head> of your site so it loads on every page.
| Platform | Where to paste |
|---|---|
| WordPress | Install the free WPCode plugin → Add new snippet → Header code → paste |
| Shopify | Online Store → Themes → Edit code → theme.liquid → paste before </head> |
| Wix | Settings → Custom Code → Head → paste, apply to all pages |
| Squarespace | Settings → Advanced → Code Injection → Header → paste |
| Webflow | Project settings → Custom Code → Head Code → paste, then republish |
| Custom HTML | Open your template, paste before </head>, redeploy |
Step 6 — Test your widget
Open your site in a private window
A private (incognito) window means you'll see exactly what a brand-new visitor sees. Look for the rounded chat button in the bottom-right corner of your homepage. If it's there, the embed worked.
Ask a real question
Click the chat button and ask something a customer would: 'How much for a boiler service?', 'Do you cover SE15?', 'Can I get a quote for a kitchen rewire?'. Voxinly should answer using the starter knowledge you pasted in. If the answer isn't quite right, head back to /admin/knowledge and add more detail. Updates take effect immediately.
Step 7 — Optional polish
You're live. Now you can take it further. Each of these is its own short guide in Resources:
- Add trust badges (Gas Safe, NICEIC, Checkatrade rating) so customers see your credentials in the chat header
- Configure postcode coverage so Voxinly politely declines jobs outside your area
- Set up quote rules — price bands per job type, postcode multipliers, urgent-callout uplift
- Add your WhatsApp number for a one-click handoff when a customer wants to talk live
- Configure hot-lead email alerts so you get pinged when someone's ready to book
Step 8 — Going live for real
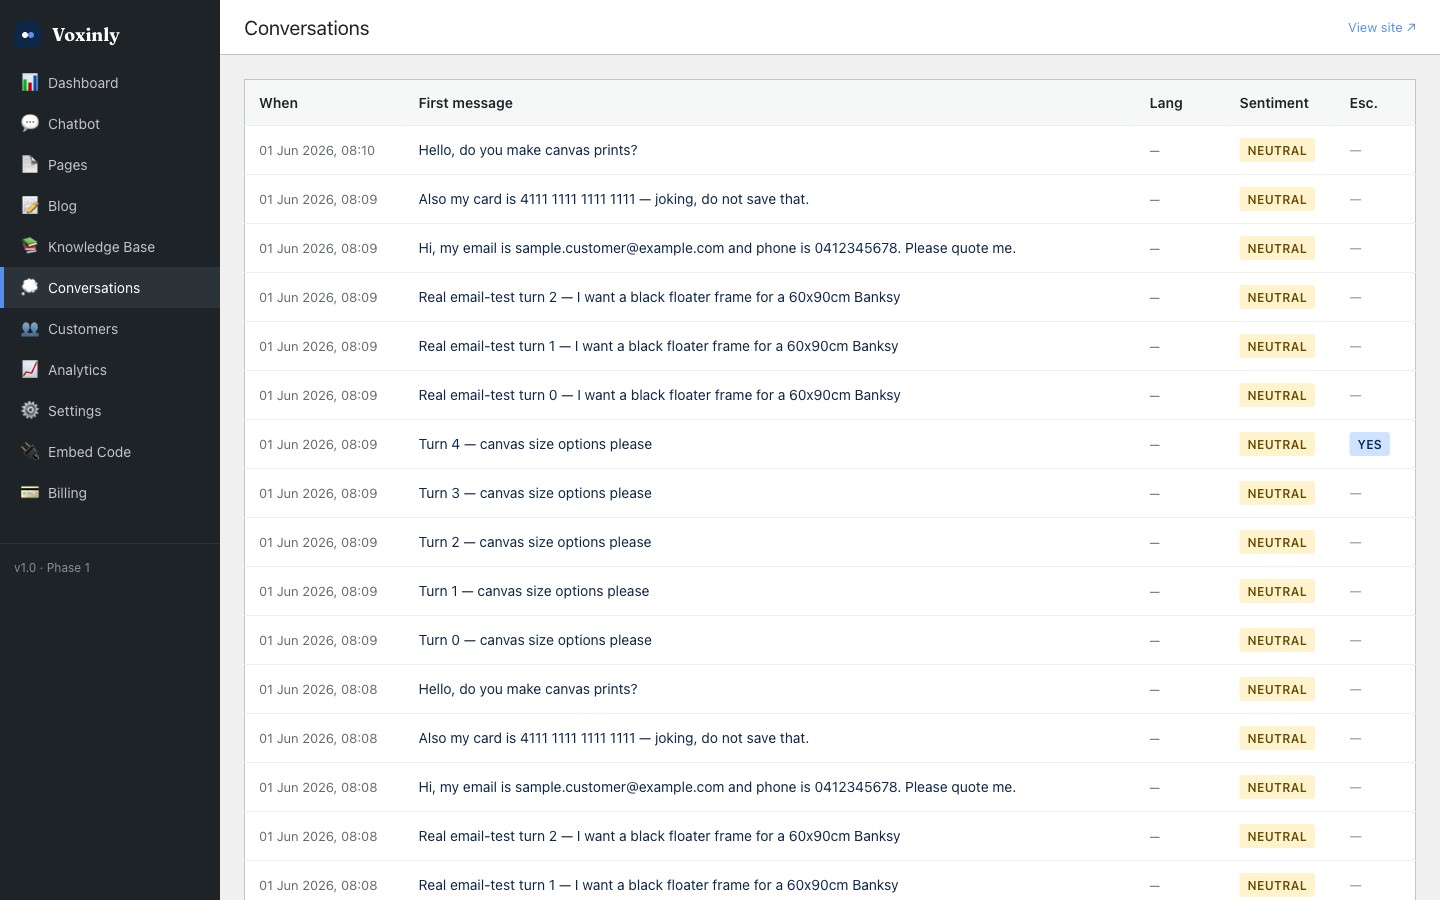
Once you've tested with three or four made-up questions and the answers look good, you're properly live. Voxinly is now answering customer enquiries 24/7 on your website. You don't need to do anything else for the chatbot itself — just keep an eye on the Conversations tab so you can see what's coming through.
Step 9 — Watch the dashboard
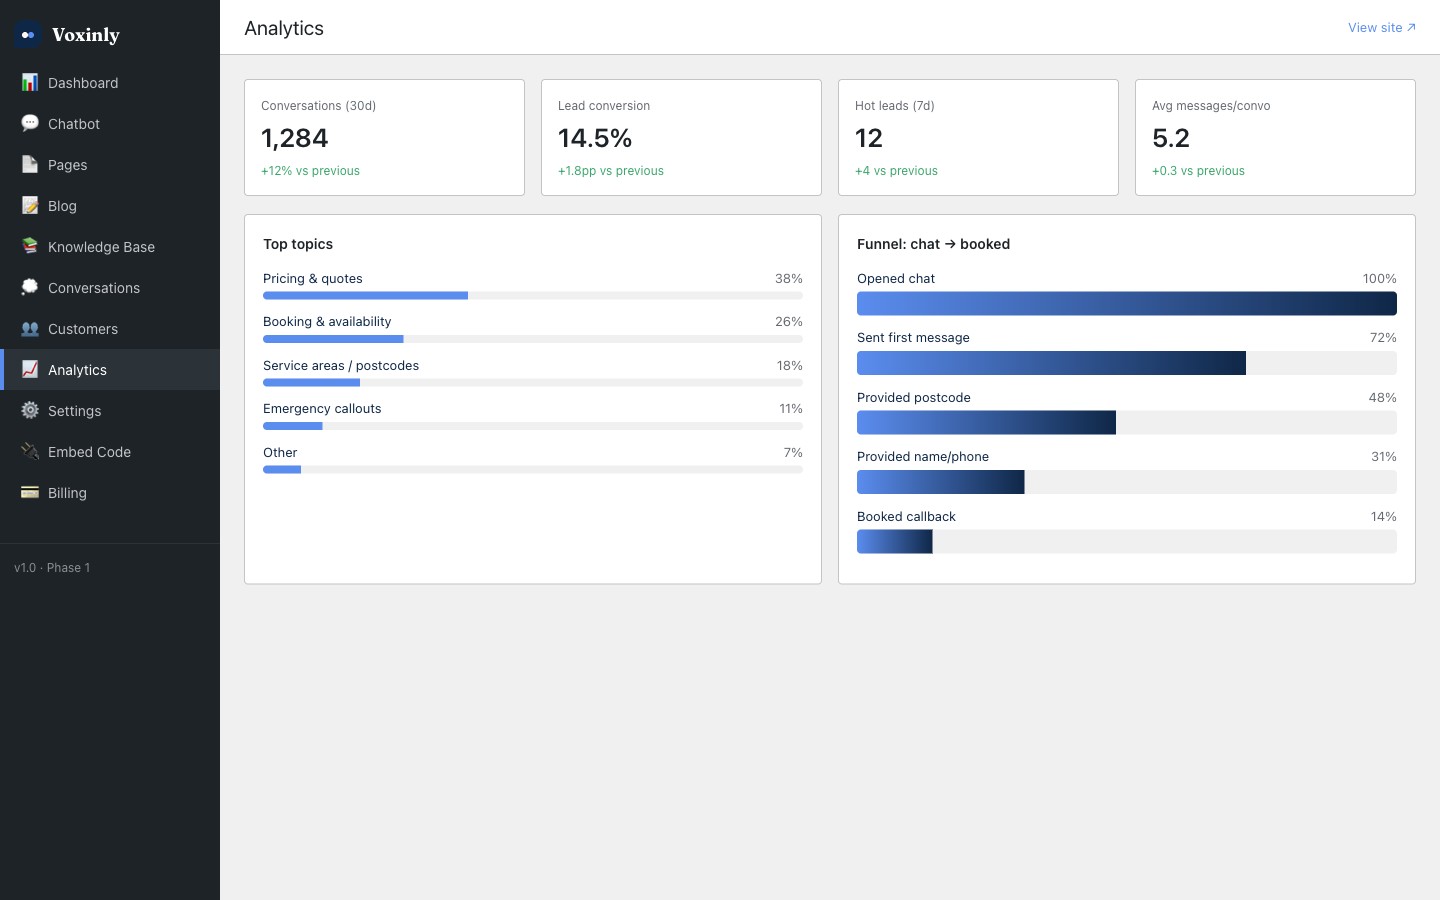
Open /admin/analytics each morning with your tea. You'll see total conversations, leads captured, hot leads (customers who showed buying intent), and conversion rate. The Customers tab shows every visitor who left a name or contact detail — those are the leads you call back.
Step 10 — Hand off to a human
Voxinly is honest about what it is — a smart automation that captures enquiries and answers common questions. When a customer wants to talk to you directly, Voxinly hands them off cleanly. The WhatsApp button in the chat header (if you've configured one) sends them straight to your WhatsApp. The phone number does the same for a call. And if Voxinly senses frustration or urgency, it escalates the conversation by emailing you immediately so you can pick up the phone yourself.
FAQ
How long does this take, really?
Under five minutes once you've picked your trade preset, assuming you know your fees and postcodes. The preset loads the right qualifying questions automatically. If you're still working out service areas and pricing, give yourself half an hour to think those through first.
Will the widget look right on mobile?
Yes. Around 70% of UK trade customers visit your site on a phone, so the widget is mobile-first by design. The bubble sits in the corner; opening it gives a full-screen chat panel.
What if I change my prices?
Update /admin/knowledge. New answers use the new prices straight away — no rebuild, no waiting, no support ticket.
Do I have to use the embed code? Can a developer install it for me?
Yes, either works. The embed code is a one-liner so most tradesmen do it themselves. If you have a developer, they'll have it in three minutes. See the developer guide in Resources for the technical details.
What happens after my 14-day trial?
You pick a plan from the three tiers on the pricing page. Your chatbot keeps running with all your settings intact, your knowledge base, your conversations, the lot. We email you a couple of days before the trial ends so it's not a surprise.