Adding Voxinly to your WordPress site — step by step
The full guide to installing Voxinly on a WordPress site, with screenshots at every step. Two methods: the free WPCode plugin (recommended) and direct theme editing.

WordPress runs about 43% of UK trade websites, which is why this is the most-asked-for guide. There are two ways to put Voxinly on a WordPress site. We strongly recommend method one — it survives theme updates, plugin updates, and migrations. Method two works but you'll need to redo it every time you change theme.
Method 1 — WPCode plugin (recommended)
Get your snippet first
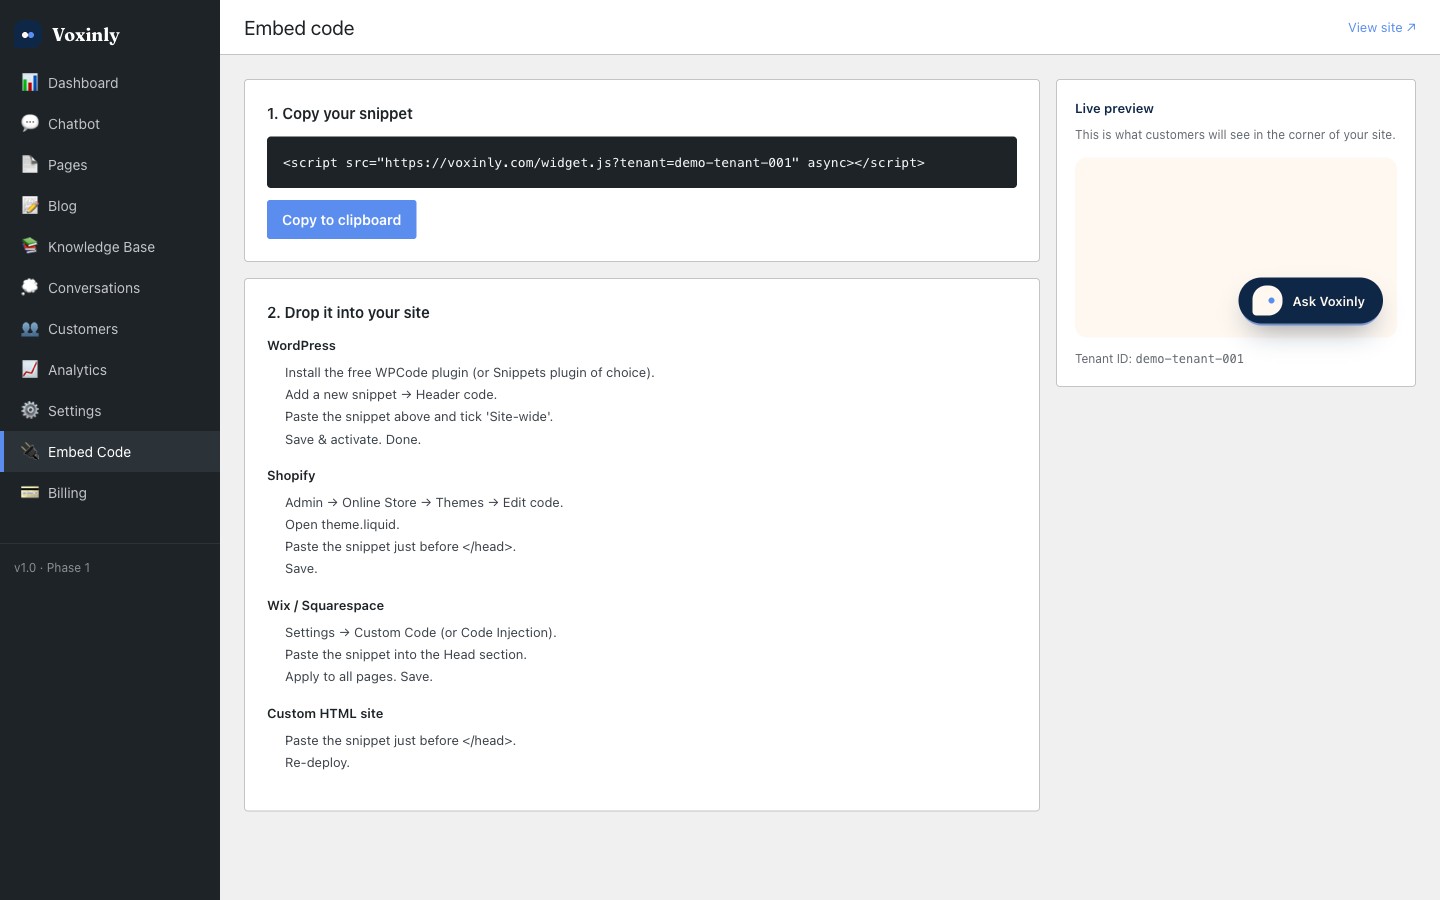
Log into voxinly.com/admin → click Embed code. Copy the one-line script tag. Keep that browser tab open — you'll paste from it in a minute.
Install WPCode
In your WordPress admin, go to Plugins → Add New. Search for 'WPCode'. Install and activate the free version (there's a paid one too — you don't need it). It used to be called 'Insert Headers and Footers'.
Add a new header snippet
In the WP sidebar, click Code Snippets → Header & Footer. Paste your Voxinly snippet into the 'Header' box. Save. WPCode adds it to every page on your site automatically — no other configuration needed.
Test it
Open your site in an incognito window (otherwise your logged-in admin might block scripts). The Voxinly chat bubble should appear in the bottom-right corner within a second of the page loading. Click it. Ask a test question. If you get an answer, you're done.
Method 2 — Direct theme edit
- WP Admin → Appearance → Theme File Editor
- Open header.php in the right-hand panel
- Find the closing </head> tag
- Paste your Voxinly snippet on the line just before </head>
- Click 'Update File' at the bottom
- Test on the front end as above
What about page builders?
Elementor, Divi, Beaver Builder and Bricks all play nicely with Voxinly because the chatbot lives in the page <head>, not the page body. Use Method 1 (WPCode) and the widget will appear on every page including ones built with your page builder. You don't need to add the snippet inside the builder itself.
Caching, NitroPack, WP Rocket
Voxinly's script loads asynchronously and weighs only a few kilobytes, so most caching plugins handle it without intervention. If your widget doesn't appear after install:
- Clear your caching plugin's cache (WP Rocket → Settings → Clear Cache, or equivalent)
- Purge your Cloudflare or CDN cache if you use one
- Disable 'defer JavaScript' for the Voxinly script specifically — most plugins let you exclude scripts by URL
- Test again in an incognito window
Troubleshooting
I pasted the snippet and the widget doesn't show
Open your site, right-click → View Source, search for 'voxinly.com/widget.js'. If you can't find it, the snippet didn't save — go back to WPCode and check the header field. If you can find it, clear all caches and try an incognito window.
The widget shows on the homepage but not on inner pages
Something is stripping the snippet from inner page templates. Switch to Method 1 (WPCode) if you used Method 2 — WPCode injects on every page including custom ones.
My theme breaks when I add the snippet
That shouldn't happen — Voxinly loads asynchronously and never blocks rendering. If it does, your theme has a syntax bug that the new tag is exposing. Remove the tag, the bug is still there; the snippet just made it visible.
How do I remove Voxinly?
Open WPCode → Code Snippets → Header & Footer → delete the contents of the Header box → Save. Widget gone in seconds.